I don’t think about death.
I mean…yes, I know we are all going to leave this earth at some point, but I don’t dwell on the subject. Rather than considering the afterlife, heaven or never-ending abyss, I ponder the meal which comes beforehand. My last indulgence which satisfies me wholly, as if to say:
My palate is at peace. I am sated and ready for my next adventure.
Let’s see. Now…I’m not sure what will be piled on my plate. Perhaps, a big bowl of Killer Cajun Shrimp or maybe a huge piece of Beatty’s Chocolate Cake. But if I know one thing, it’s this:
There. Will. Be. Cornbread. There will most definitely be classic cornbread.

When I write ‘classic cornbread’ I mean nothing super-fancy. For me there’s no need to throw fire-roasted corn kernels or Gruyere with minced shallots into the batter. It doesn’t need the aide of honey maple butter or cranberry pepper jelly. Ok…maybe the honey maple butter, but you get my point, right?

Honestly, I’d be delighted with just a chunk of cornbread, sweet butter and some strawberry preserves. After that, I’d be ready to walk into the light.
How about you? What will you have at your Last Supper?
Classic Cornbread Recipe
Classic Cornbread recipe slightly adapted from food.com
- 1 c cornmeal
- 1½ c buttermilk
- 1¼ c flour
- 1½ t baking powder
- 1 t baking soda
- 1 t salt
- ½ c granulated sugar
- 1 egg, large
- ⅓ c butter, melted and cooled (1/2 c butter, browned on occasion)
- Preheat oven to 400 degrees F.
- Coat 10 inch skillet with 1 tablespoon of oil or baking spray.
- Mix cornmeal and buttermilk in medium-sized bowl. Set aside. (The acid in the buttermilk softens the cornmeal while you prepare the rest of the recipe.)
- In a large bowl combine flour, baking powder, baking soda, salt and sugar.
- In a measuring cup or small bowl mix the cooled melted butter and egg.
- Combine butter-egg mixture with cornmeal-buttermilk mixture.
- Pour wet into flour mixture and combine until there are no more streaks of flour. Do not overmix.
- Pour batter into prepared skillet.
- Bake for 25-30 minutes.
Classic Cornbread Photo Shoot – Behind The Scenes
by David
This was a busy day. It started with a family photo session and ended with insanely delicious cornbread. Mondo may be known as the “cookie lady,” but when I hear the cast iron skillet hit the stove, Mondo’s true talents come to light. This girl knows how to make classic cornbread.
Setting up the Shot
Most of the photography videos I watch online skip the metering and chimp their way to a good shot, but light meters are an essential tool in a commercial environment. The thing most people don’t understand is that meters aren’t about setting the shooting exposure, but instead, establishing ratios on the set.
When I shoot a model on a white background, I use an incident meter to set the background at two-thirds of a stop over the shooting exposure. This gives me a pure white background without blowing out the hair. This level of accuracy is mandatory for catalog work and impossible without a meter.
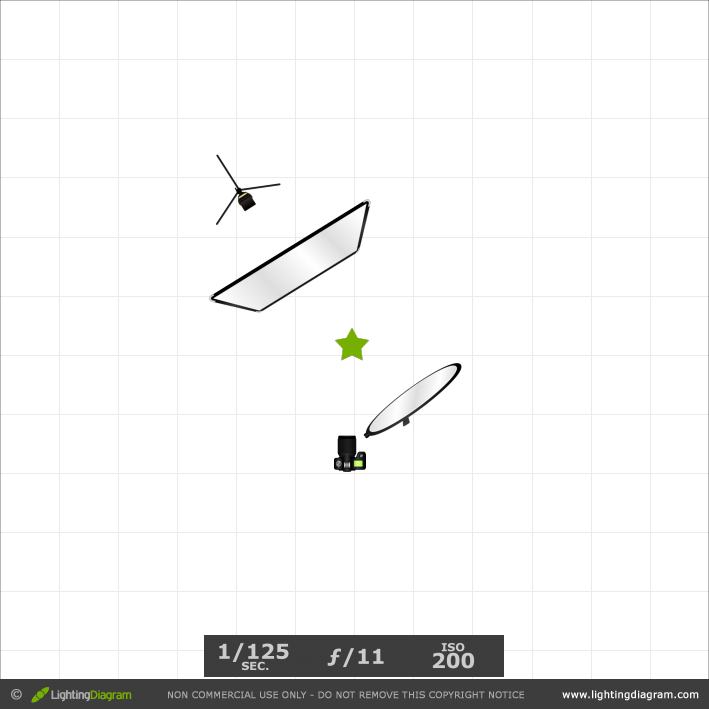
For the classic cornbread shoot, I wanted something dramatic with deep shadows so I went with a 1:4 lighting ratio. In other words, I setup the main light at f16 and the fill light at f8. I ended up setting the shooting exposure at f11, but it could have been a little more or less depending on how I wanted to render the highlights and shadows.
Of course, all of this is made possible by metering. Over the years, I’ve played around with various lighting ratios and typically know what I want before I shoot it.
The lighting
For the main light, I used a light panel placed 45 degrees and approximately 5 feet behind the shooting table. For fill, I decided to use a 60″ Softlighter directly behind the camera. This was used to lower contrast and provided a very even on-axis fill.
I typically place the light panel closer to the food, but I wanted the light to have a little “snap.” A lot of beginners assume that a light gets rougher when moved closer, but the opposite is true.
The character of light is determined by the size of the light relative to the subject. If the light is moved closer, it gets bigger and softly wraps around the subject. If it’s moved back, it gets smaller and creates hard crisp shadows.
Odds and Ends
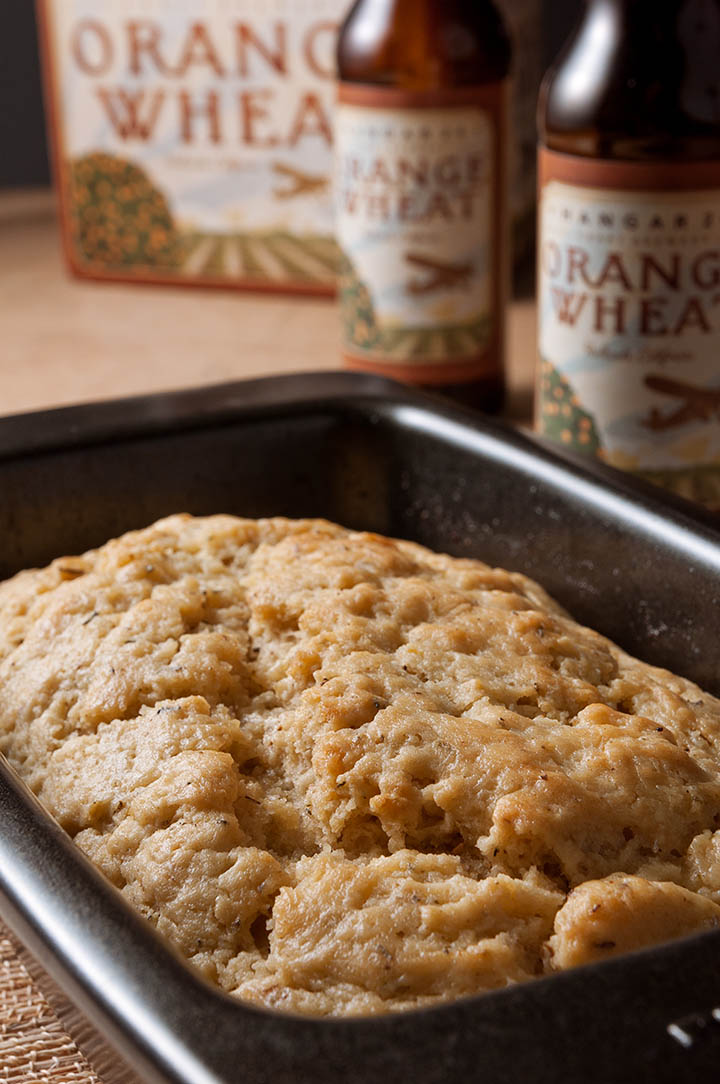
Mirrors and fill cards are a big deal for food photographers. On the shot below, I wanted to have light scrape across the top of the food, but it was creating a very harsh shadow on the edge of the pan. I couldn’t add another light without killing the texture, so I bounced a little light into the shadow with a silver fill card. It was a perfect solution provided by a piece of scrap I found around the studio.

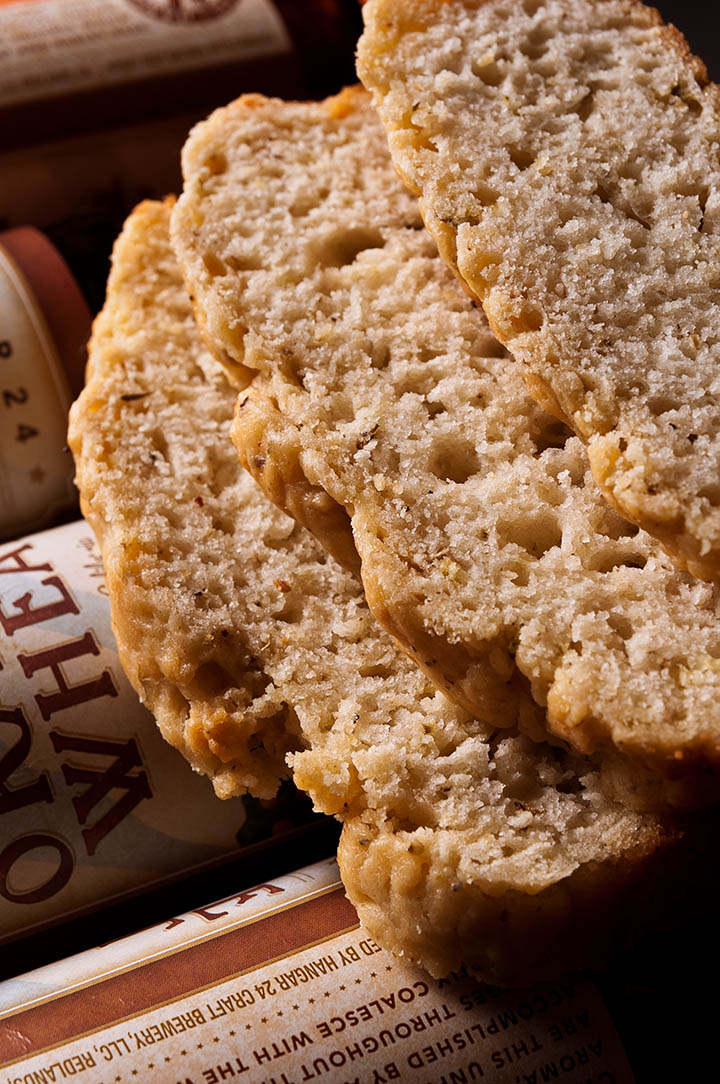
On this shot, everything looked great at first, but the surface of the knife and jam were lifeless. Unlike the cornbread, these were reflective objects, not textural objects. Reflective objects show dimension by mirroring the items around them. Instead of scraping light across the surface, I created reflective specularity on the top of the jam with a 10 degree gridspot. I then placed a white card over the knife so it would reflect the card of the black surface of the studio.

Wrap-up
By metering the set and understanding the nature of objects, I was able to do everything in-camera. Instead of chimping away and hoping for the best with the lighting, I did the work during the shoot and left with very little to do later. When I got home, I turned on the TV and watched Homeland instead of spending half my life in Photoshop.
All in all, a great shoot with a delicious meal at the end.
Technical
Camera: Nikon D90
Lens: Tamron 17-50mm 2.8
Strobes: White Lightning x1600
Tripod: Manfrotto
ISO: 200
Focal Length: 50mm
Shutter: 125
Aperture: f/11